Understanding Hiking Difficulty Levels for Better Planning
- Aug 12, 2025
- 5 min read
Updated: Nov 9, 2025
Planning a hike can be exciting yet daunting. One of the most critical factors to consider is the difficulty level of the hike. Understanding the various hiking trail difficulty levels can significantly enhance your outdoor experience. This post aims to provide you with detailed insights on hiking trail difficulty to ensure you are well-prepared for your next trek.
Hiking Trail Difficulty: What Does it Mean?
Hiking trail difficulty refers to the level of challenge a particular trail presents to hikers. This can depend on various factors, including terrain steepness, distance, elevation gain, weather conditions, and trail conditions. Understanding these aspects ensures you choose a trail that matches your fitness level and hiking experience.
Hiking trail difficulty is typically classified into categories ranging from easy to difficult. Each category has specific characteristics that can help you make informed decisions. For instance, an easy hike may involve gentle slopes and well-marked paths, while a difficult hike might include rocky terrains and significant elevation changes. Familiarizing yourself with these classifications will help you choose a hike that suits your comfort and skill levels.

Decoding the Hiking Difficulty Levels
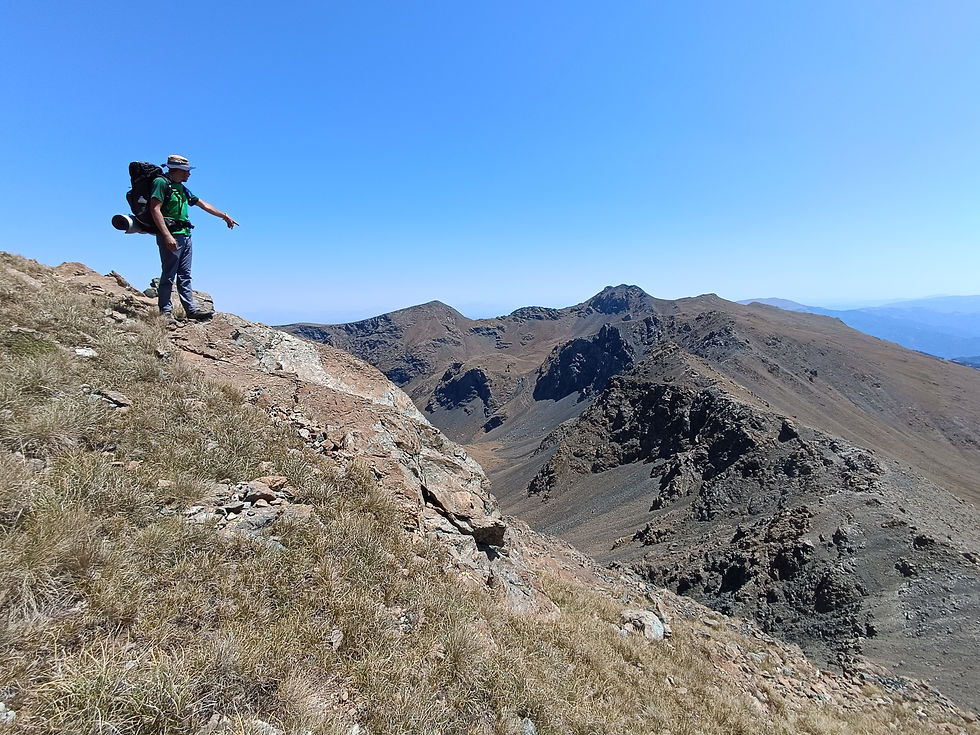
Hiking difficulty levels can be grouped into five main categories: easy, moderate, challenging, strenuous, and expert. Let’s explore each category in detail to set realistic expectations for your hiking adventure.
What Makes a Trail Difficult?
Trail difficulty isn’t just about how tiring a hike might be—it’s about the technical demands of the terrain.
After reviewing respected systems used in Europe and the USA—such as the Swiss Alpine Club scale, the Yosemite Decimal System, and the Appalachian Trail classifications—GrEco Hiking has arranged a Class 1–5 scale that focuses on terrain features like steepness, scrambling, exposure, and footing, rather than simply the distance or duration.
Whether a hike takes two hours or a full day, the highest difficulty section determines its class.
GrEco Hiking Difficulty Levels
Class | Description | Typical Duration & Elevation |
Class 1 – “Walk in the Park” | Calm, well-marked low-altitude walks—minimal gear, ideal for families and newcomers | Up to ~15 km or 4 hours; ≤ 400 m ascent |
Class 2 – Easy Hike | Gentle slopes with occasional rocky or uneven sections; modest fitness recommended | Up to ~20 km or 6 hours; ≤ 800 m ascent |
Class 3 – Moderate Hike | Varied terrain—some exposed sections, scree, and short steep climbs where hands may be used for balance; trekking poles useful | Time/distance varies; increased focus and stability required |
Class 4 – Strenuous / Technical Hike | Demanding routes with sustained steep ascents or descents, extended sections of rocky or uneven ground, and possible scrambling (using both hands and feet). Exposure to heights and narrow paths common. Requires strong fitness, good balance, and prior hiking experience. May involve >1,000 m elevation gain. | Often full-day hikes; endurance and technical skill essential |
Class 5 – Expert / Alpine Challenge | Highly technical terrain, often with significant exposure, steep rock faces, or snow/ice fields. May require helmets, harnesses, ropes, or crampons. Navigation skills crucial. Only for experienced mountain hikers or climbers comfortable with challenging alpine conditions. | Varies greatly—can be multi-day; preparation, safety gear, and mountain expertise required |
Tip: Hiking times are estimates—factor in an extra 50 % for scenic pauses, breaks, or a slower pace.
Examples:
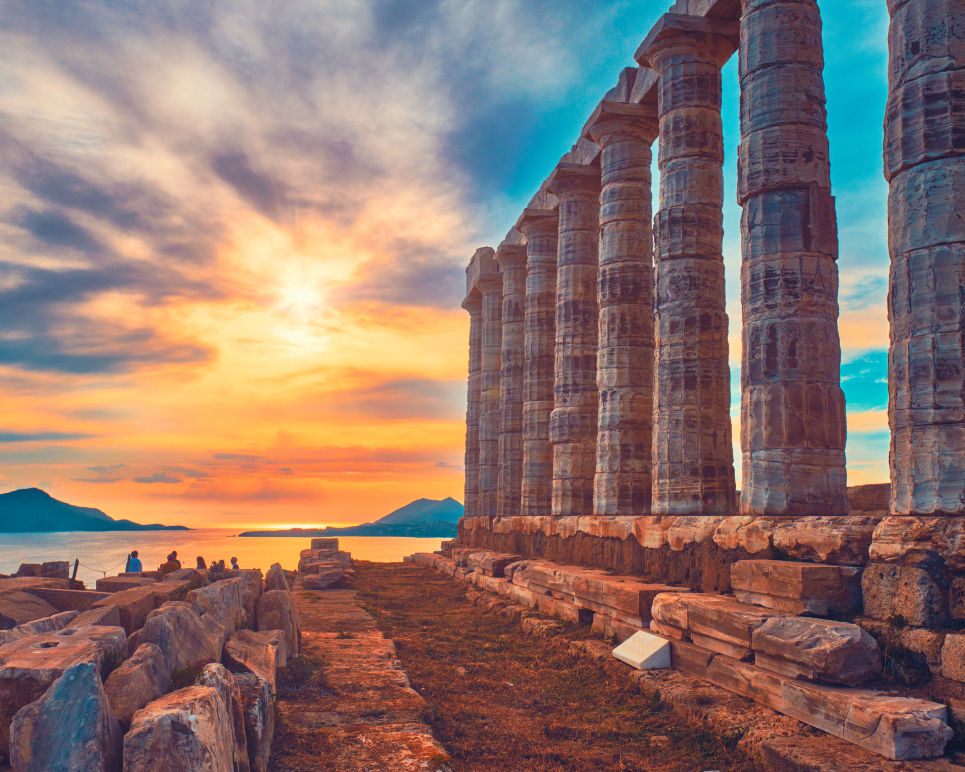
Class 1 – “Walk in the Park”: A hiking trip to Sounion-Lavrio mining caves or Nafplion.

Class 2 – Easy Hike: A hiking trip to Methana Volcano or Pavliani Adventure Park

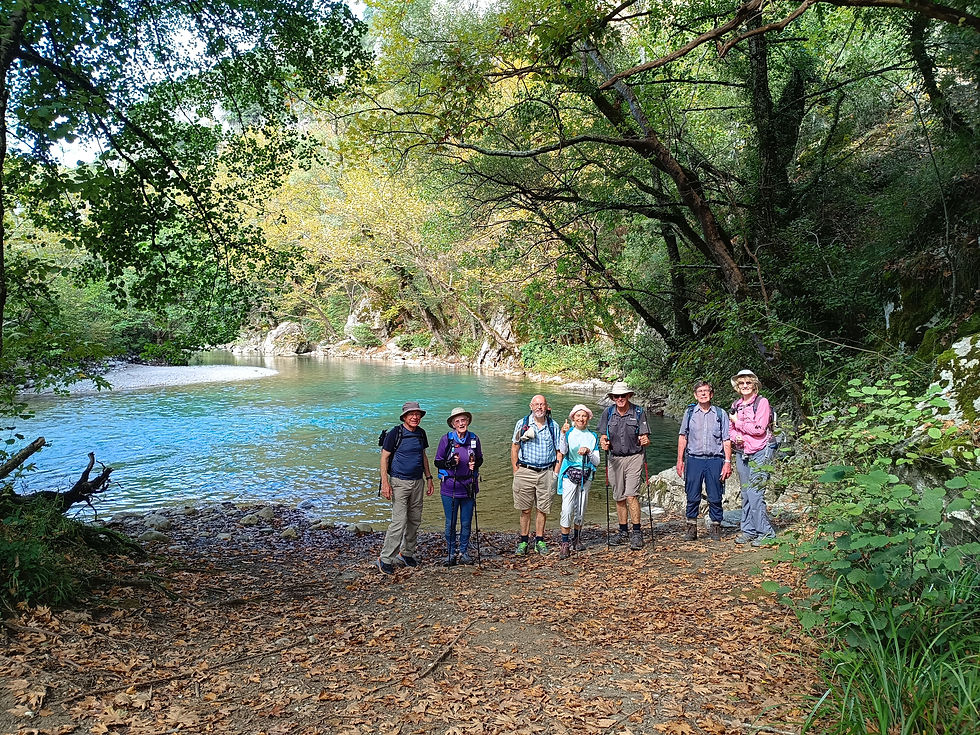
Class 3 – Moderate Hike: A hiking trip to Parnitha mountain or Voidomatis River, Epirus
Class 4 – Strenuous / Technical Hike: A hiking trip to Olympus mountain or N. Pindos

Class 5 – Expert / Alpine Challenge: A hiking trip to Olympos or Taygetos mountain in winter conditions


Planning Your Next Hike
Be honest about your skills—pick a class that matches your fitness and confidence.
Give yourself extra time—the journey is as meaningful as the destination.
Choose guided tours for safety, insight, and a richer experience.
Remember: Class reflects technical terrain, not just effort or length.
By aligning your adventure with GrEco Hiking’s Class 1–5 scale, you can select trails that are safe, fulfilling, and perfectly matched to your abilities—whether it’s a gentle stroll through Arcadia’s forests or a technical alpine ascent in the Pindus mountains.
Planning Your Hike: Tips for Success
Successfully planning your hike involves more than just understanding hiking difficulty levels. Here are some practical tips to enhance your planning:
Assess Your Fitness Level: Gauge your physical condition, and honestly assess how much effort you're willing to put into your hike.
Research Trails: Use online resources or apps that provide details about the trail's difficulty level, route length, estimated time, and conditions.
Choose the Right Time: Take into account the best seasons for hiking to avoid harsh weather. Early mornings or late afternoons are often ideal for avoiding excessive heat.
Gather Necessary Gear: Based on the difficulty level, ensure you have the right equipment. For challenging hikes, this may include trekking poles, proper footwear, and hydration packs.
Hike with a Buddy: Always consider hiking with friends or family. This provides safety and support, especially on more technical trails.
Understanding Trail Markings
Trail markings are crucial for navigation and ensuring your safety. Familiarize yourself with different types of trail signs and colors that indicate difficulty levels, potential hazards, and route directions.
Each trail system may use different colors and symbols, so it’s vital to understand what they mean in your hiking area. For example, blue often indicates an easy trail, while black can signify more challenging routes. Be sure to observe the landmarks noted on the map and follow the designated path to avoid getting lost.
Elevation and Weather Impact on Hiking Difficulties
Two significant factors that can drastically influence hiking difficulty are elevation and weather conditions. Higher elevations come with thinner air, making it harder to breathe. If you're planning to hike in mountainous areas, acclimatization is crucial.
Weather can also change hiking conditions rapidly. Rain can make paths slippery, while high temperatures may increase dehydration and fatigue. Always check the weather forecast before heading out and adjust your plans accordingly.
Wrapping It Up
Understanding hiking trail difficulty levels is essential for any outdoor enthusiast. By knowing what to expect from your chosen trail, you can better prepare yourself for the adventure. Always select a trail that aligns with your skills and experience, and don't hesitate to challenge yourself gradually.
As you explore the vast networks of trails out there, remember to enjoy the journey and the beauty of nature. Safe hiking!


Comments